DISCLAIMER: THIS GUIDE IS FOR LEARNING HOW TO SETUP GIT. THIS DOES NOT CURRENTLY TEACH YOU HOW TO USE GIT OR GIT KRAKEN. THIS ONLY TEACHES YOU HOW TO MAKE YOUR CODING ENVIRONMENT.
Heya! Welcome back to another guide in learning to code! Or, Nice to meet you, if you’re starting here!
In this guide, we’ll be focusing on setting up Git, a GitGUI (if you’re new to git), and creating your own fork of BeeStation’s code.
Git (Good)
Before we start jumping into Dream Maker and messing with the code, we need a way to control the versions of our code. We need this in case we fuck something up really bad. In case we do make the code a shit-show, we can fall back onto some files that make the code work again, although it would remove our changes.
What we need is a Version Control System. We’ll be using the well known Git platform. To make it speedy, you can download your version of Git here.
When installing Git, you might run into some options that you don’t know if you should enable or not. Just follow along with me.
The first thing you’ll see is the Licensing, just read up on it, or skip it, and hit Next.
Now you should see some options that are pretty basic. You can skip this window and press Next, but I enabled daily checks for updates.
Now the installer will ask you what editor you’d like to be the default for git. Choose Visual Studio Code and continue. If you don’t have VSC installed, I highly recommend that you do, as it will make life easier for you, you’ll see why when we get to the extensions. But if you really don’t want to, just use any editor that you’re familiar with on the list and continue.
Now you’ll encounter the PATH window. Choose the recommended setting, it’s all we need, and after all, it’s the recommended one.
I won’t explain or give a link for this window, as you don’t to bother with it at all. Just keep the option on Use the OpenSSL library and hit Next.
Same thing for this window, keep it on Checkout Windows-style, commit Unix-style line endings. Hit Next
Use the default Use MinTTY, hit Next.
Then make sure all the boxes are checked and hit Next.
Make sure this last window has the only check box un-checked. then hit Install.
Git Crackin’ (Kraken)
Once we have Git installed, you may or may not need a Git-GUI. You see, Git uses Git Bash. Git Bash uses a command line to keep everything in check. But we also enabled the option to use Git from Command Prompt. If you’re not familiar with
using a command line tool, then follow along on this section. If you’re sticking to the Bash or CMD Prompt, skip over to the next section.
Head on over and download Git Kraken. The installer should just install everything for you when you open it. No options to choose from.
Wait until it’s finished and then head on to the next step.
Your very own Beepository!
To continue, you’ll need to have a GitHub account. Make one really quick from here.
Once your account has been created, we’ll head on over to BeeStation’s GitHub Repository.
Once you’re there, look at the top right corner of the web page. There’ll be a “Fork” button.
Once you press it, GitHub will start making a fork of BeeStation’s repo. This fork will be owned by you. This is the place where you can take your edited code and store it in different branches of your fork.
Once your fork is created, open Git Kraken and log in with your GitHub account. You’ll probably have to link it to some Axosoft account or Git Kraken’s accounting stuff, just follow their instructions and get that out of the way.
When that’s done, you’ll see this screen.
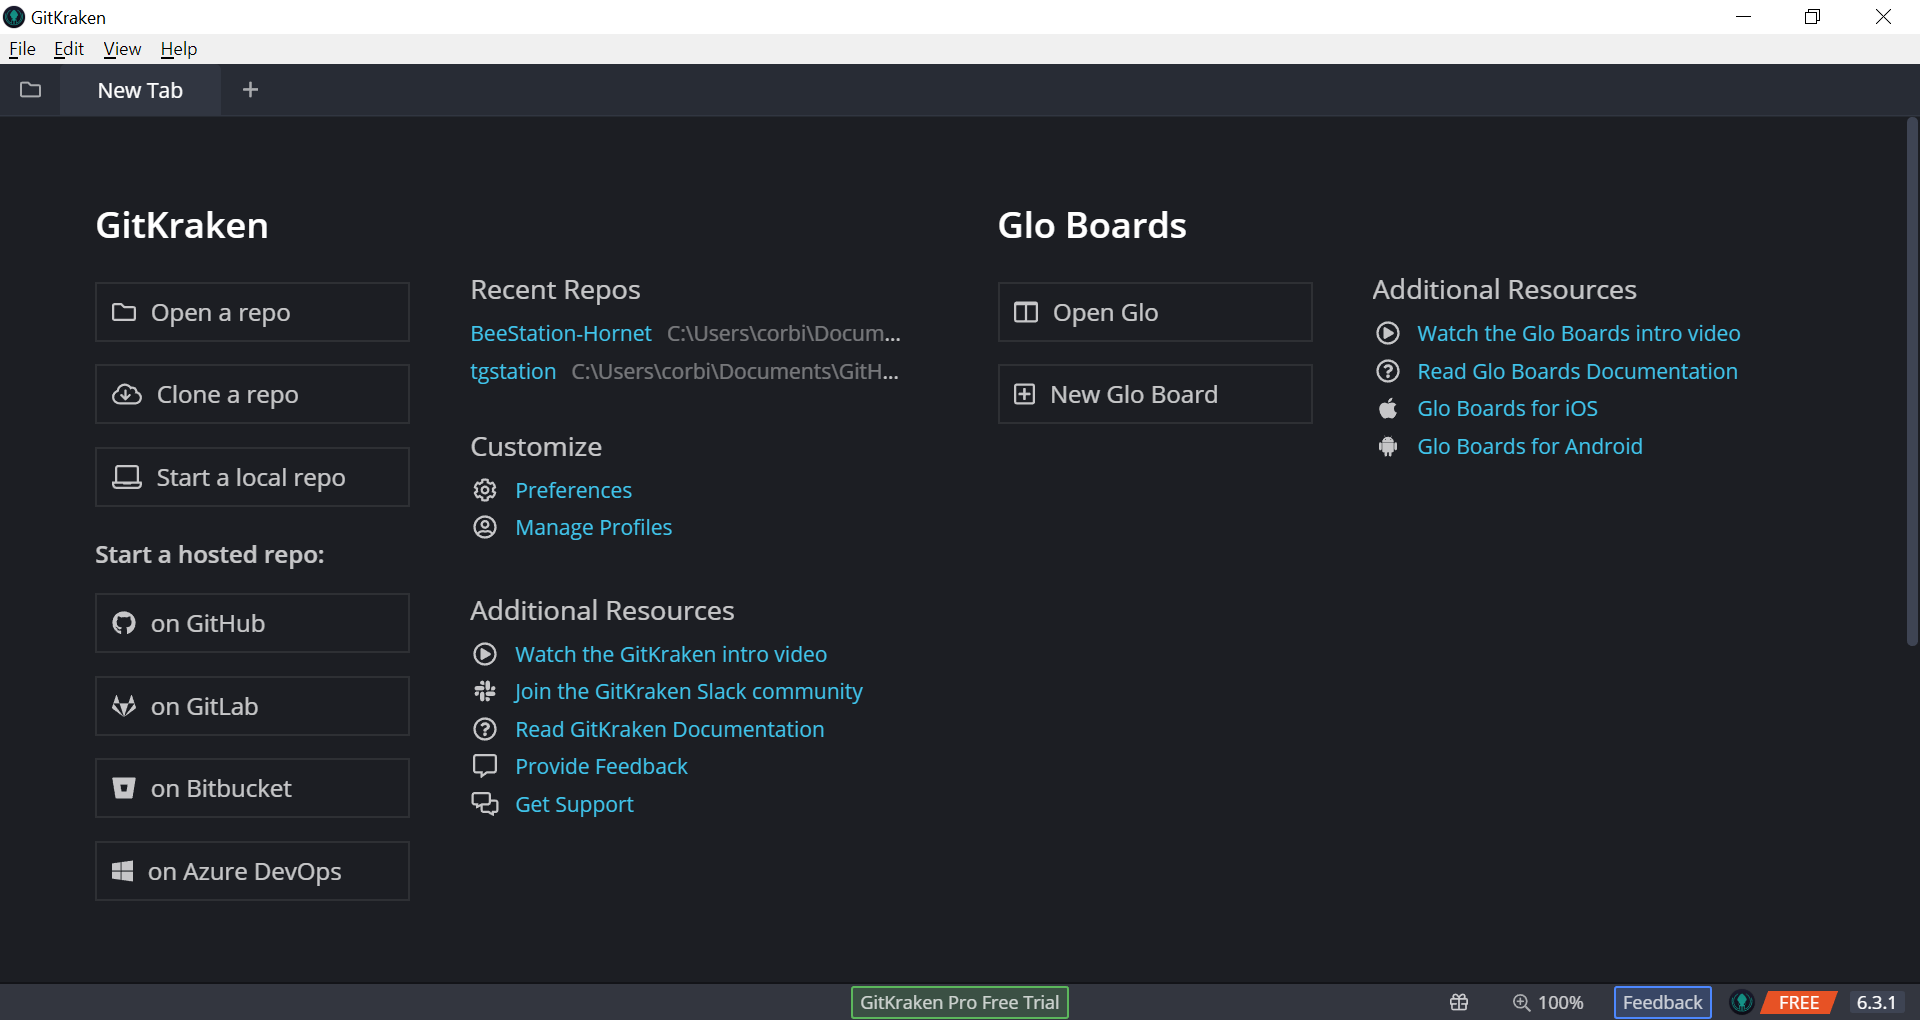
Press the Clone a repo button. Make sure you’re on the Clone with URL option. In the first selection box, select a folder where you want to store all of your and BeeStation’s code. In the second selection box, head over to your fork on the GitHub. Copy the URL and paste it in there.
Mine looks like this:

Press the Clone the repo! button and wait as Git brings all of BeeStation’s files onto your computer.
Who knew that BeeStation takes up 3.7 GBs. Think about it. A game that runs on an old game engine is 3.7 GBs in size. This game has had thousands of people working on it, which will include you soon. Such an old and buggy, shitty, yet fun game runs on some dumpster fire of an engine (BYOND, Sorry Lummox Jr., I’m a BYOND Memeber, I swear).
Moving on.
Once all the files are complete, we need to add the Upstream. The upstream is BeeStation’s repo. It will allow you to pull from the repo and update your repo.
Hover over the Remote option to the left of your screen and press the green plus button.

Click on the URL option on the new window that opens up.
Name it Upstream and enter in BeeStation’s repo URL in the Pull URL text box.

Just like that. Hit Add Remote and it shouldn’t take too long for the changes to take effect.
Congratulations!
You’ve created your own local environment to work on cool projects.
Make sure to make a new Branch for every separate project.
If some terms are still confusing, regarding Forks and Branches, read this little guy. It’s also a good idea to read if you wanna learn how exactly to use the Git Kraken interface.
